In this post I will be demonstrating how to install Oracle Client 10g, together with SQL*Plus. I recently made a post about installing Oracle Database 11g, and we are currently on version 12c (about 2 years ago), but the last version of SQL*Plus as an application was 10g. From version 11g onwards, the software binary started to be compiled without the GUI version, which lost some facilities and functionalities (I didn't like it).
If you want to know how to install Oracle Database instead of the Oracle Client, access this link.
Oracle Client 10g Installation
- Run the file setup.exe to start the installation.
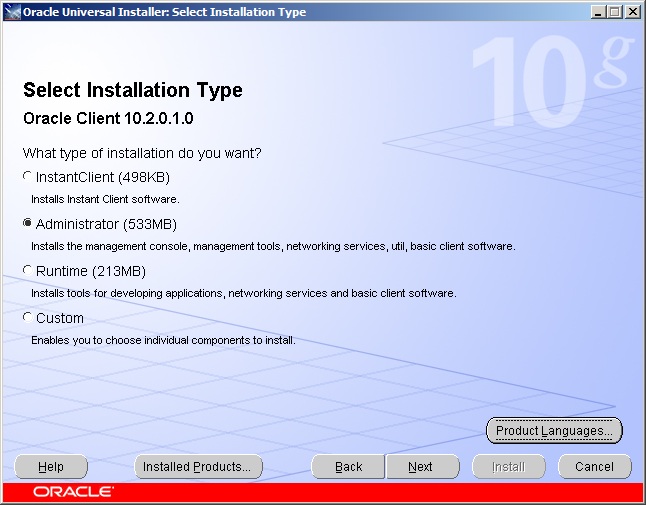
Oracle Client - Installation 1 - In step 2, you must select the Oracle Client 10g installation type. I always choose the Administrator option for DBA machines. If the Oracle Client is only needed to access the database, you can use the InstantClient option.

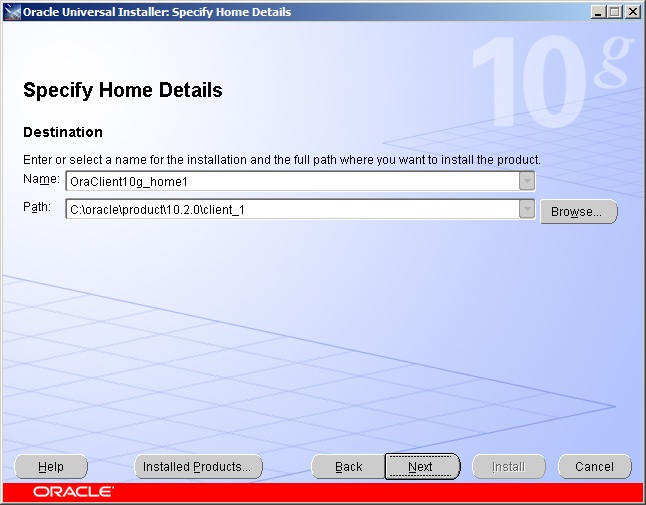
Oracle Client - Installation 2 - In step 3, you can define the Oracle Client installation path (or use the default).

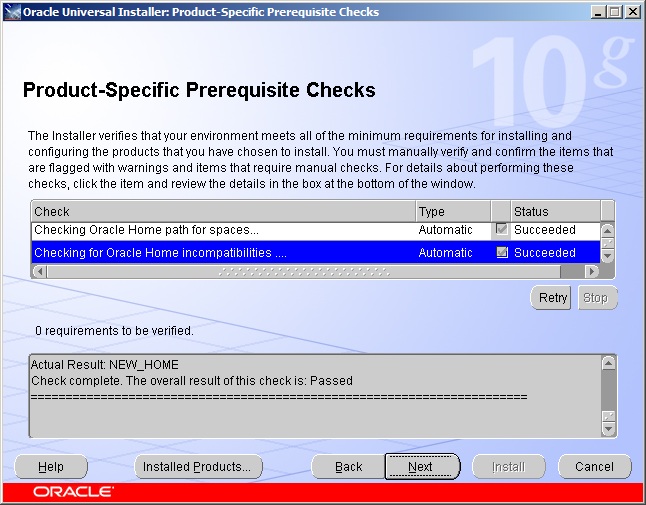
Oracle Client - Installation 3 - Step 4 is where the Oracle Universal Installer will validate the minimum requirements to proceed with the installation.
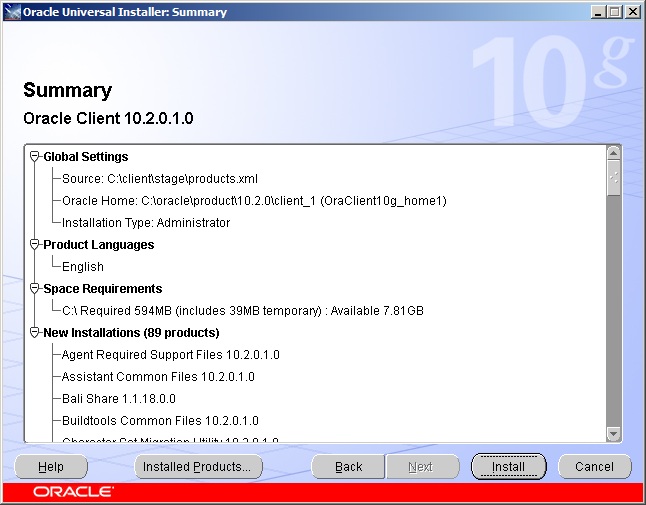
Oracle Client - Installation 4 - A summary with the chosen settings will be displayed on the screen.

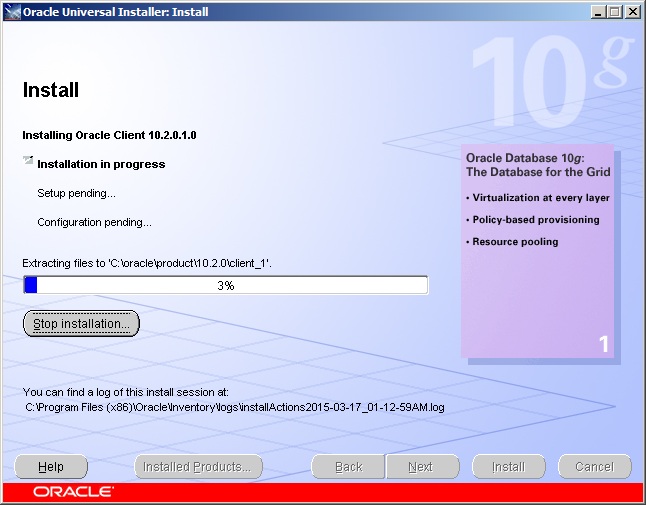
Oracle Client - Installation 5 - Installation in progress..
Oracle Client - Installation 6 - After installation, you must configure Oracle Net. As we are going to edit our tnsnames.ora and sqlnet.ora files manually, we can check the “Run typical configuration” option and proceed.

Oracle Client - Installation 7 - End of Client installation
Oracle Client - Installation 8


Configuring the Client connection to the database
After installing the Oracle Client, we need to configure it so that it works correctly with the database:
- Before starting, we need to clarify 2 key concepts:
- sqlnet.ora: Configuration file that allows you to define Oracle Client connection options, such as authentication method (SQLNET.AUTHENTICATION_SERVICES= (NTS)), instance name resolution method (NAMES.DIRECTORY_PATH=(TNSNAMES, EZCONNECT)), default domain, etc.
- tnsnames.ora: Settings file that allows you to define the connection string for each instance you will access.
Standard format: Custom_Name.Domain=(DESCRIPTION=(ADDRESS_LIST=(ADDRESS=(PROTOCOL=TCP)(HOST=machine_name.domain)(PORT=1521)))(CONNECT_DATA=(SID=OracleSID_name)))
Standard format with active loadbalance: Custom_Name.domain=(description=(address_list=(load_balance=yes)(address=(protocol=tcp)(host=machine_name.domain)(port=1521)))(connect_data=(SID=OracleSID_name)(failover_mode=(type=select)(method=basic))))
- Define the default directory to store client configurations (tnsnames.ora and sqlnet.ora). To do this, we will create an environment variable in Windows. This way, you can manually define the location where your tnsnames.ora file will be located, even if you have more than one version of the Oracle Client installed on your machine, preventing each version of the Oracle Client from using different settings. If you do not want to use this option, the default directory where the sqlnet.ora file is located and where you must create your tnsnames.ora is C:\oracle\product\10.2.0\client_1\NETWORK\ADMIN\
-
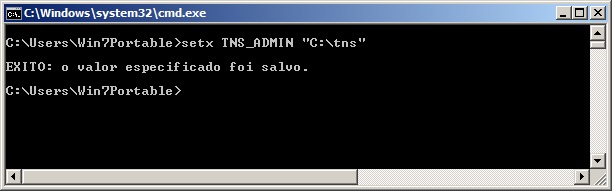
Oracle Client - Configuration 1 - Another way to configure this is by going to Start Menu > My Computer > Right Click > Properties.
After that, click on the “Advanced system settings” option > “Environment Variables” button and add the record on this screen 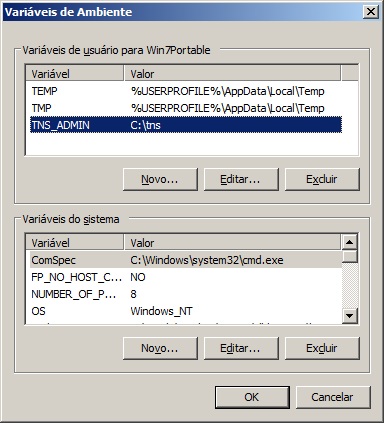
Oracle Client - Configuration 2 - Create the file tnsnames.ora in the directory pointing to your server and database


SQL*Plus Configuration
After installing the Oracle Client and configuring the environment variables, we can configure SQL*Plus correctly.
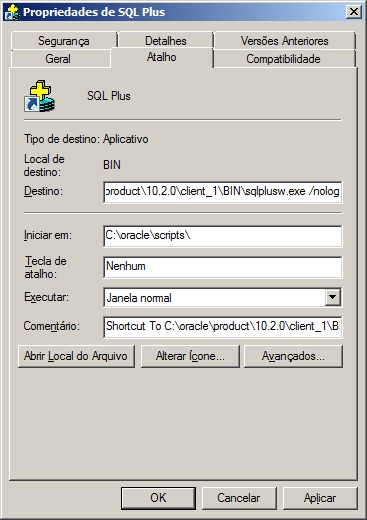
- Create a shortcut to the SQL*Plus GUI, adding the /nolog parameter to the command line so that it does not ask for a login and password when opening and in the “Start in” field, change the default address to the location where your scripts will be located.

Oracle Client - Configuration 5 - Open the glogin.sql file, located in the C:\oracle\product\10.2.0\client_1\sqlplus\admin\ directory and add the following command at the end of the file so that SQL*Plus shows the user name and connected instance:
set sqlprompt "_user'@'_connect_identifier> "- Create your connect.sql script like the example below:
set echo off conn dirceu/dirceu@&1 --- conn usuario/senha@instancia --- col HOST_NAME format a30 col ROLE format a20 col OBJECT_NAME format a35 col CODIGO_FONTE format a50000 col current_scn format 9999999999999999999999 SET SERVEROUTPUT ON SIZE 1000000 SET linesize 32765 SET long 1000000 SET pagesize 50000 SET verify on SET time on SET trims on ALTER SESSION SET NLS_DATE_FORMAT = 'DD/MM/YYYY HH24:MI:SS'; SELECT * FROM GV$INSTANCE order by instance_name; - Let's see how this makes life easier for the Oracle DBA:
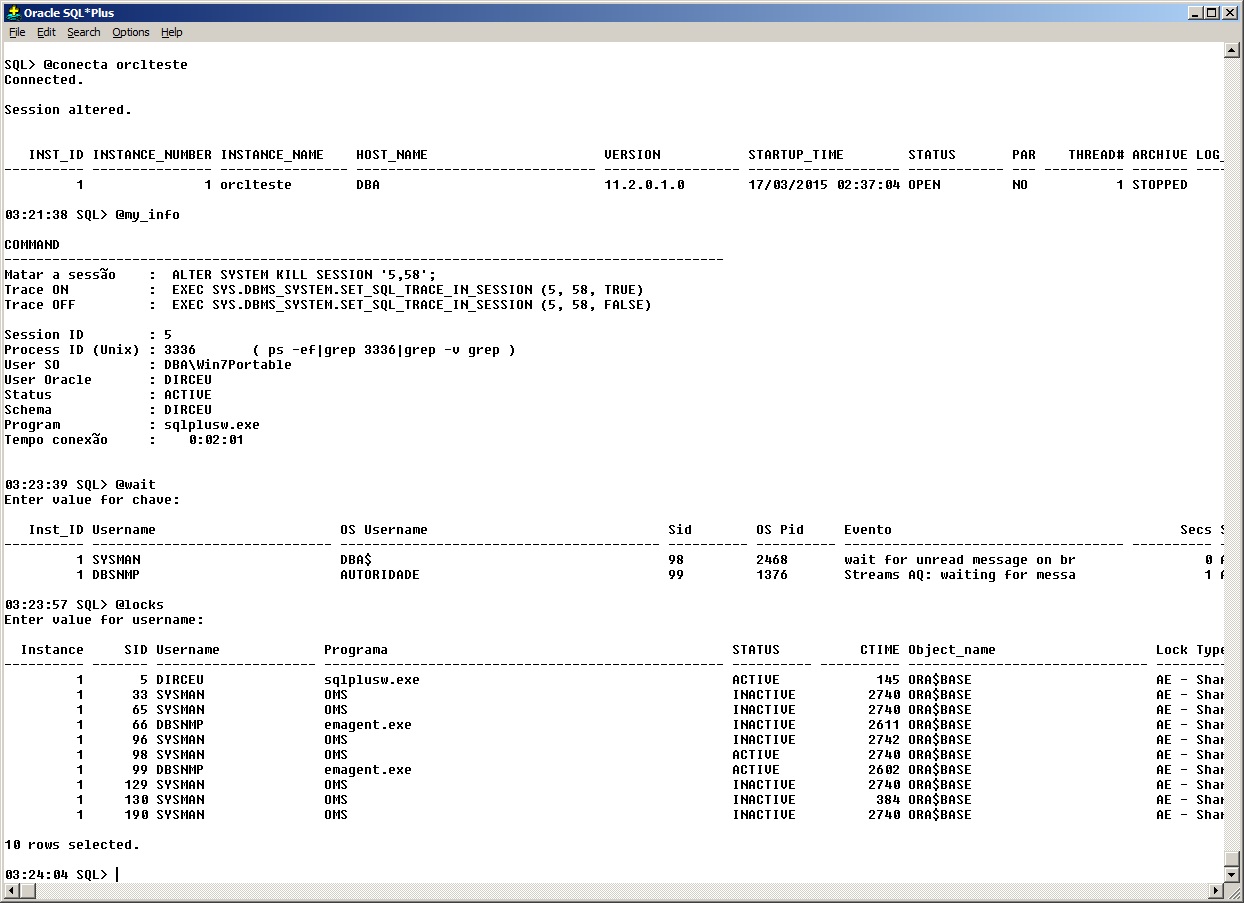
Oracle Client - Configuration 6 - See some examples of scripts applied in practice in a SQL*Plus session and see how this powerful tool makes the DBA's life much easier > log_execucao.

Until next time!

Comments (0)
Loading comments...